Change Your Avatar and Nickname
Note: Due to version changes, there might be slight differences in the screenshots in this article, but the steps on how to do it have not changed.
Step 1a:
Click “Account Settings” on the Navigation and the Basic Info and Security Settings page will appear. Under “Basic Info”, you can view and change your Avatar, Email, and Nickname.

Step 1b:
Click your name in the upper right corner of the admin panel. Select “Account Settings” from the dropdown menu. The Basic Info and Security Settings page will appear. Under “Basic Info”, you can view and change your Avatar, Email, and Nickname.

Step 2:
To change your Avatar, click the “Change” button on the right side.

Step 3:
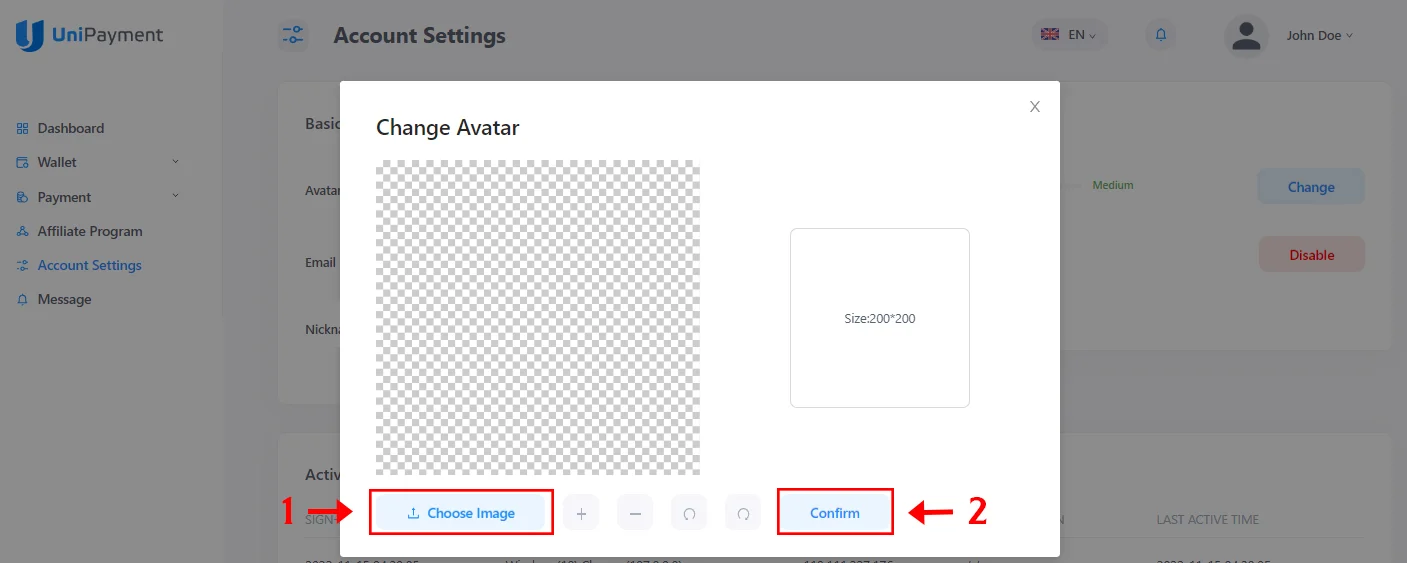
Upload a new image as your avatar by clicking the “Choose Image” button. Click the “Confirm” button once done.

Step 4:
To change your Nickname, click the “Change” button on the right side.

Step 5:
Enter your new Nickname. Click the “Confirm” button once done.
