How to create and send your invoice
Note: Due to version changes, there might be slight differences in the screenshots in this article, but the steps on how to do it have not changed.
Step 1:
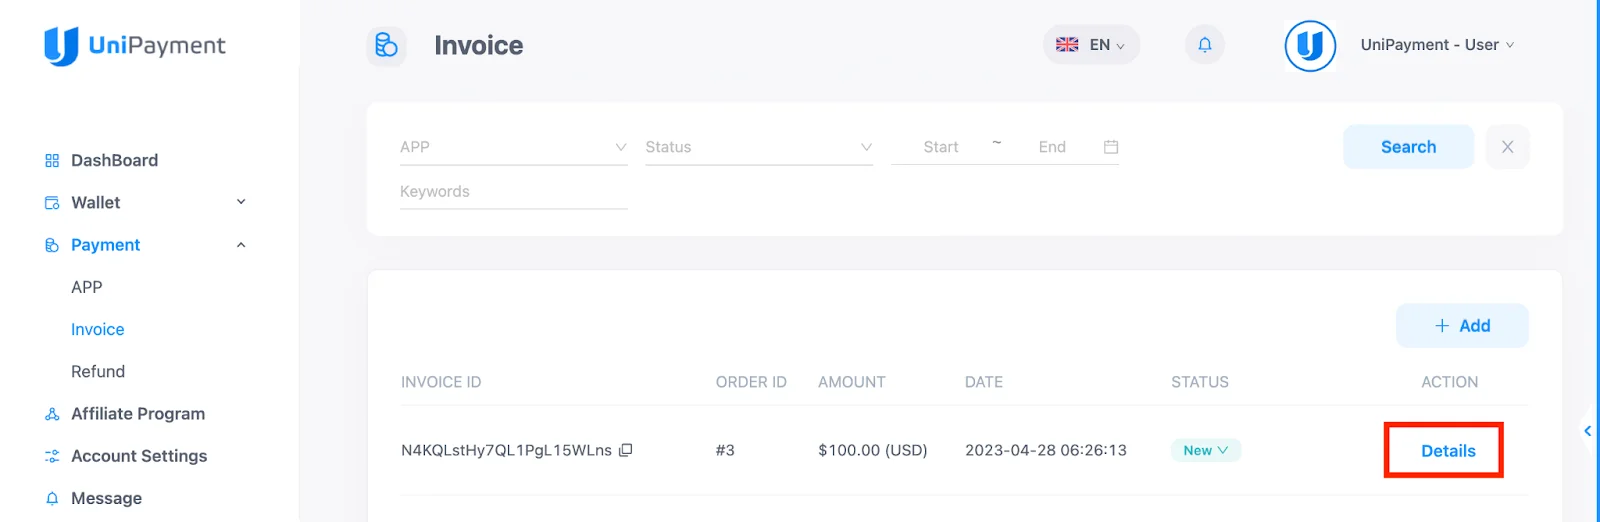
Click “Payment” in the Navigation, then click “Invoice” under the Payment menu. On the next page, click the “Add” button.
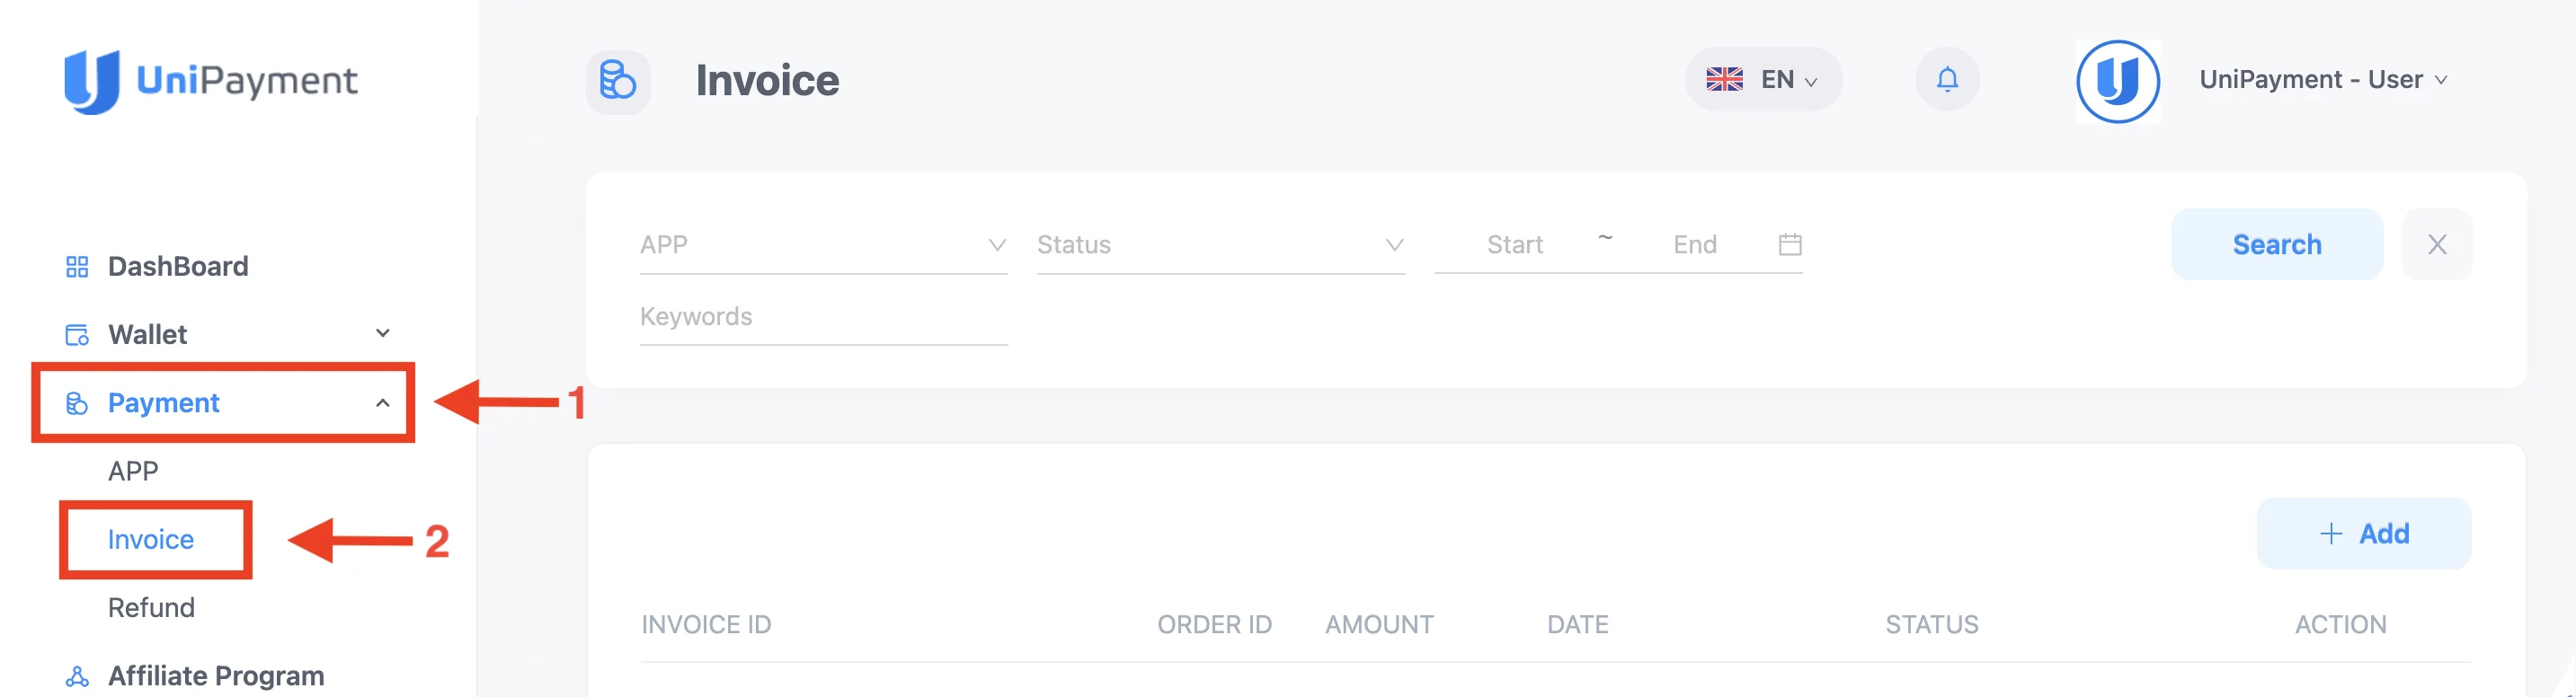
Invoices and their status will be displayed on this page. You may use the search bar to look for specific invoices.
Step 2:
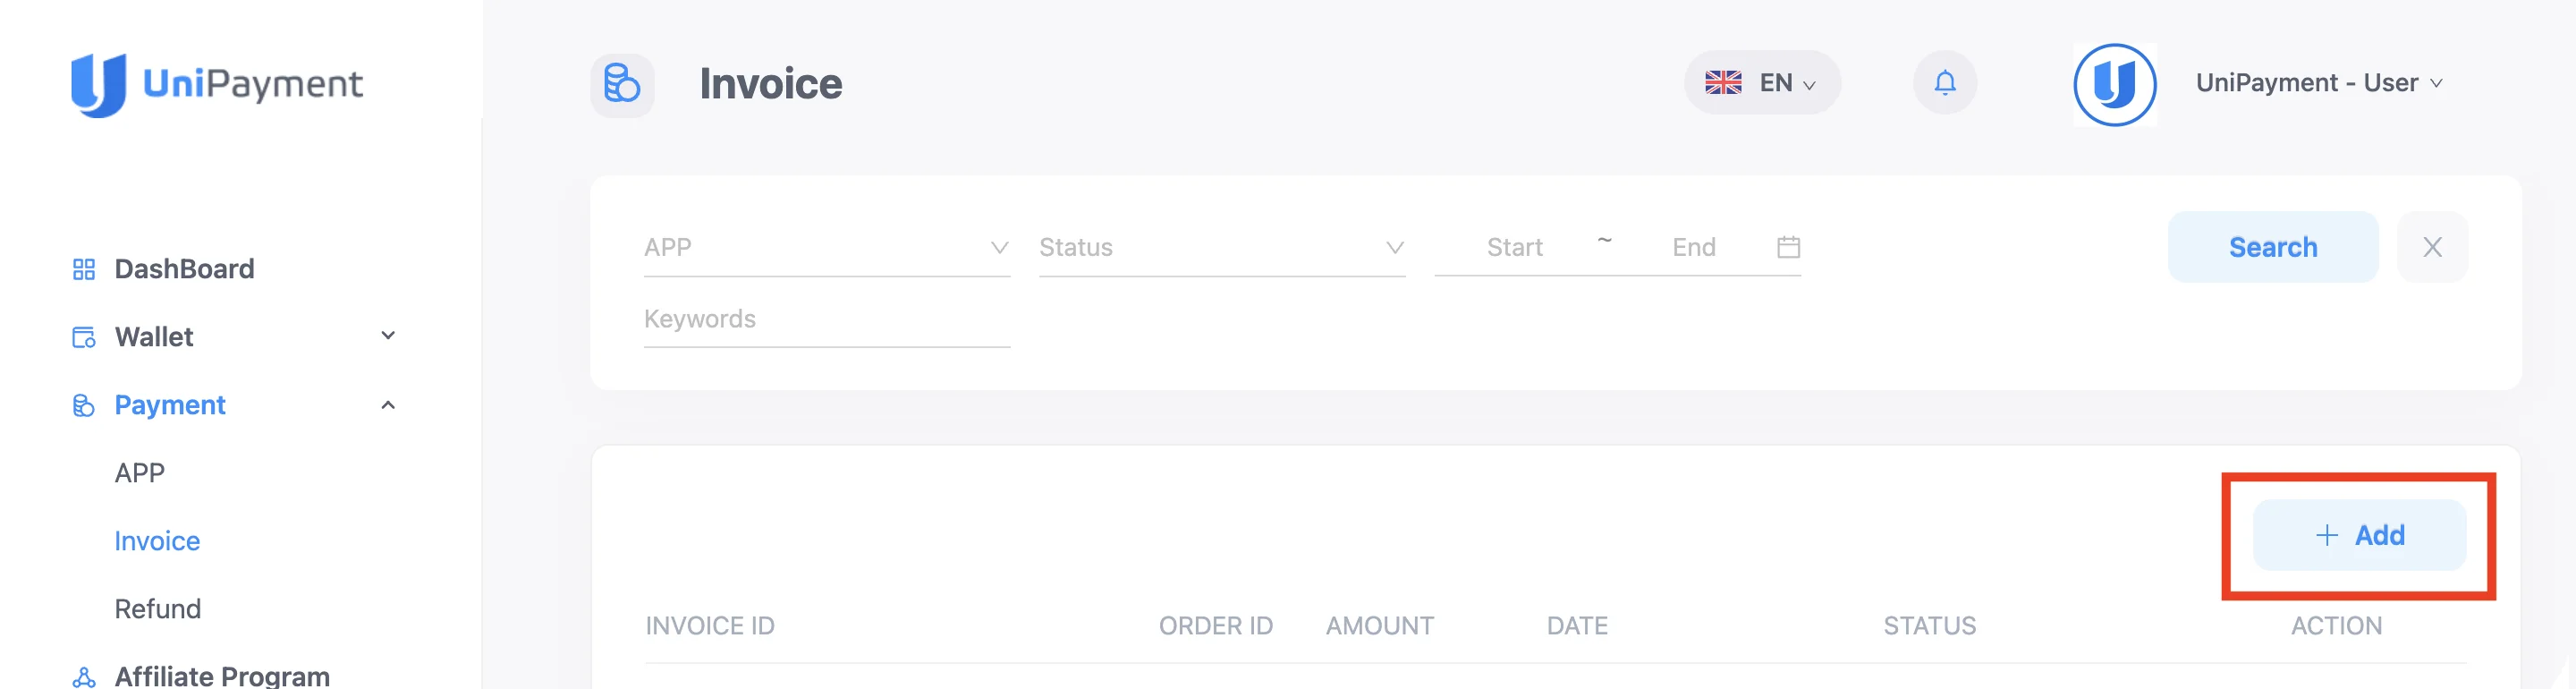
On the Invoice page, click “Add”.
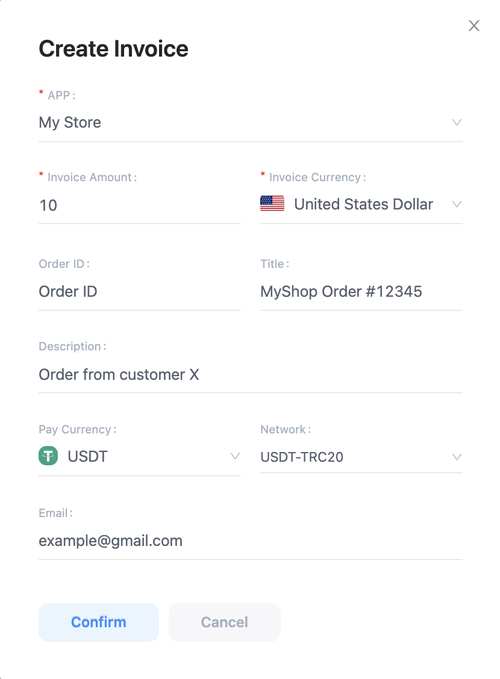
Complete all the necessary fields of the invoice:
- APP - If you have multiple APPs, select the APP you want to create an invoice in the drop-down list
- Invoice Amount - This is the amount that will be collected from your customer.
- Currency - The fiat currency in which you wish to price your invoice. Example: USD, CNY.
- Order ID - Your merchant internal order ID.
- Title of invoice - Product title (MacBook Pro) or Order ID (MyShop Order #12345) that will be displayed on the checkout page.
- Description - More details about the invoice. The description will also be displayed on the checkout page
- Pay Currency - Cryptocurrency in which the buyer will make the transfer. Note: if not specified, the customer will select it themself.
- Email - Your customer’s email address
Step 3:
After filling out the details, click “Confirm”.
The invoice is now created and sent successfully! Once you created an invoice, it will automatically be sent to your customer, along with the invoice details.
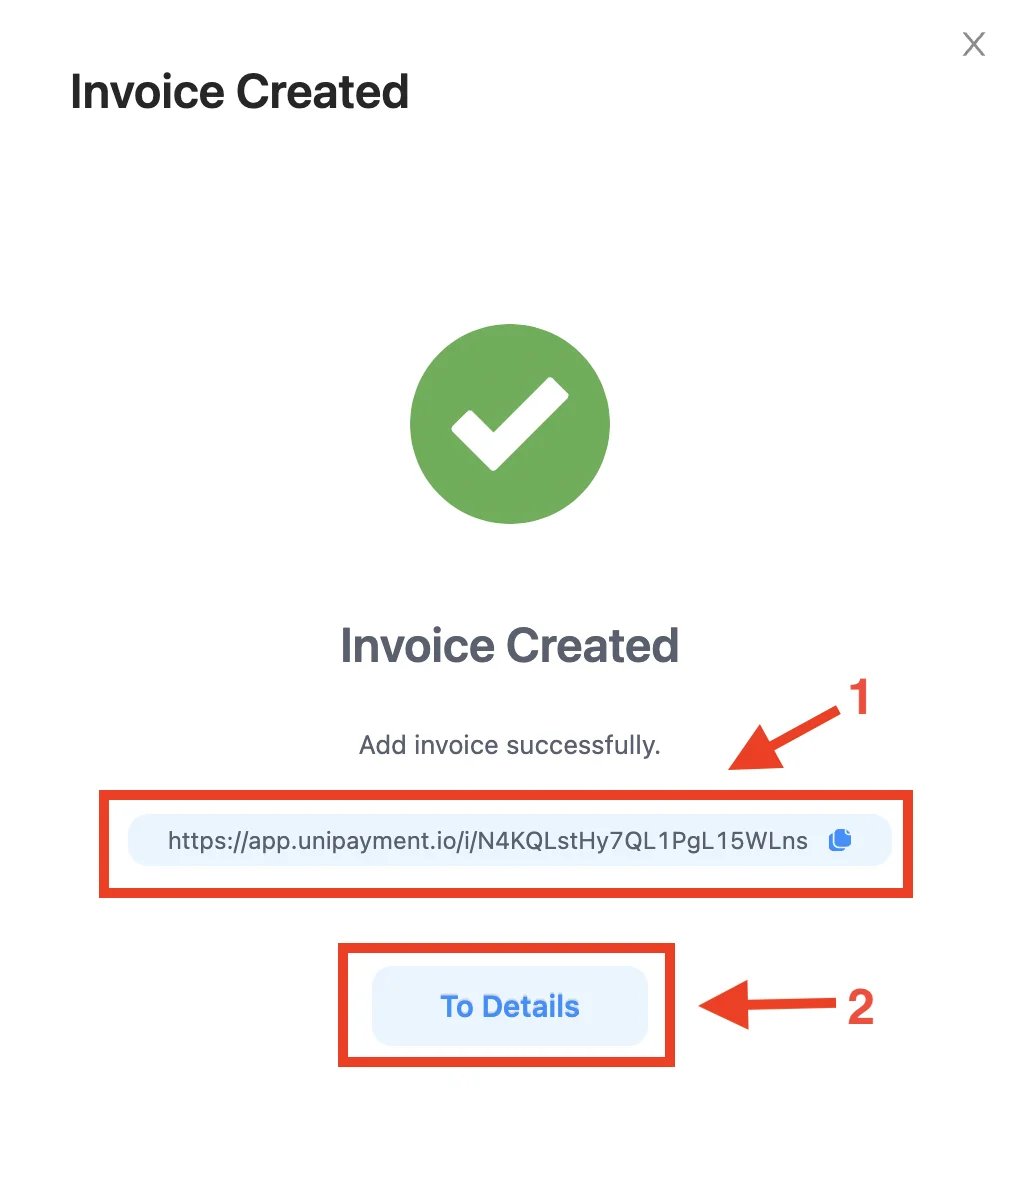
You may copy and send the link of the invoice to your customer (1). You may also view the details of the invoice by clicking on “To Details” (2).
You can find this invoice on the Invoice page as well, and click “Details” to view it.
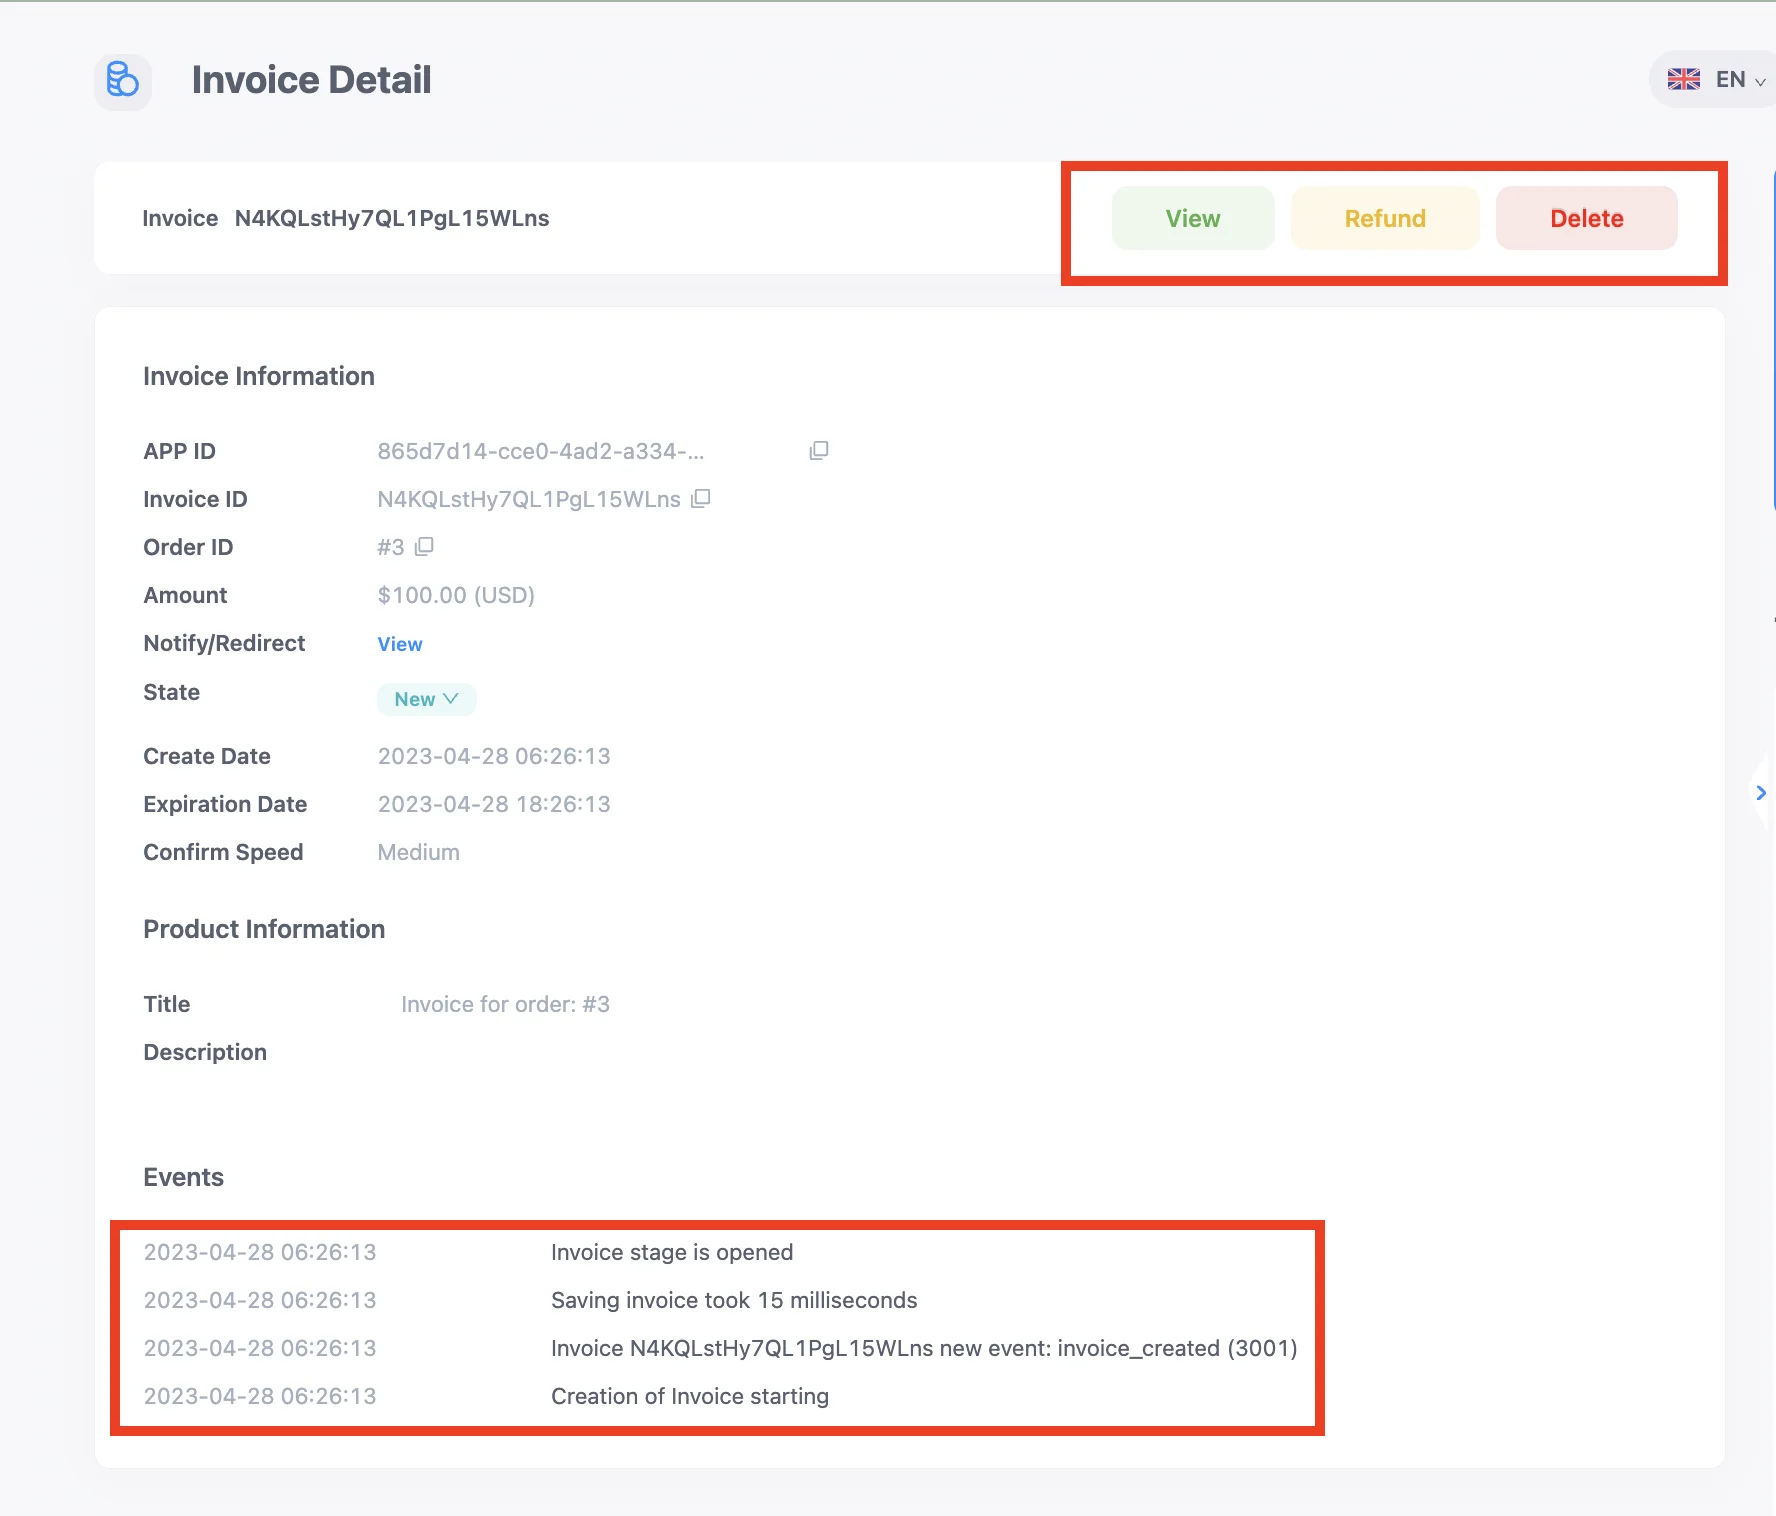
On the next page, you can also View, Refund, or Delete the invoice.
Please take note of the payment timeline at the bottom of the page. If the payment is not completed within the time set, or if the payment is overpaid or underpaid, UniPayment will send emails to notify you and your customer.
Note:
- During the payment period, please do not click the “Delete” button, otherwise the invoice will be invalid and your customers will not be able to make the payment. After the payment is successful, you can delete the invoice information at any time. The funds you have received will not be affected, and the invoice information will still remain on the transaction page.
- The “Refund” option will be disabled until the payment is successful. If there is a dispute over the payment and a refund is required, please check the refund guide.
Other methods of creating invoices
- SDK
There are several server-side API libraries available from UniPayment in various programming languages. We support Java, NetCore, Node, PHP, and Python. Using a library is not required, but we strongly encourage you to do so since it will save you time and make your implementation more secure! To learn more about our SDK and supported languages, view them here. - Plugin
The UniPayment team develops and maintains a wide variety of eCommerce plugins for many of the world's most popular e-commerce platforms. These are Drupal Commerce, Magento 1, Magento 2, OpenCart, PrestaShop, WHMCS, WooCommerce, and Zen Cart. To learn how to set up these plugins for your e-commerce platform, view them here.